Quick buyer answer
A practical planning checklist for event teams preparing a custom inflatable display for an Iceland project: clearance, access, footprint, power, setup and quote information.
Planning Custom Inflatables for Iceland Events: Clearance, Access and Setup Checklist
Published
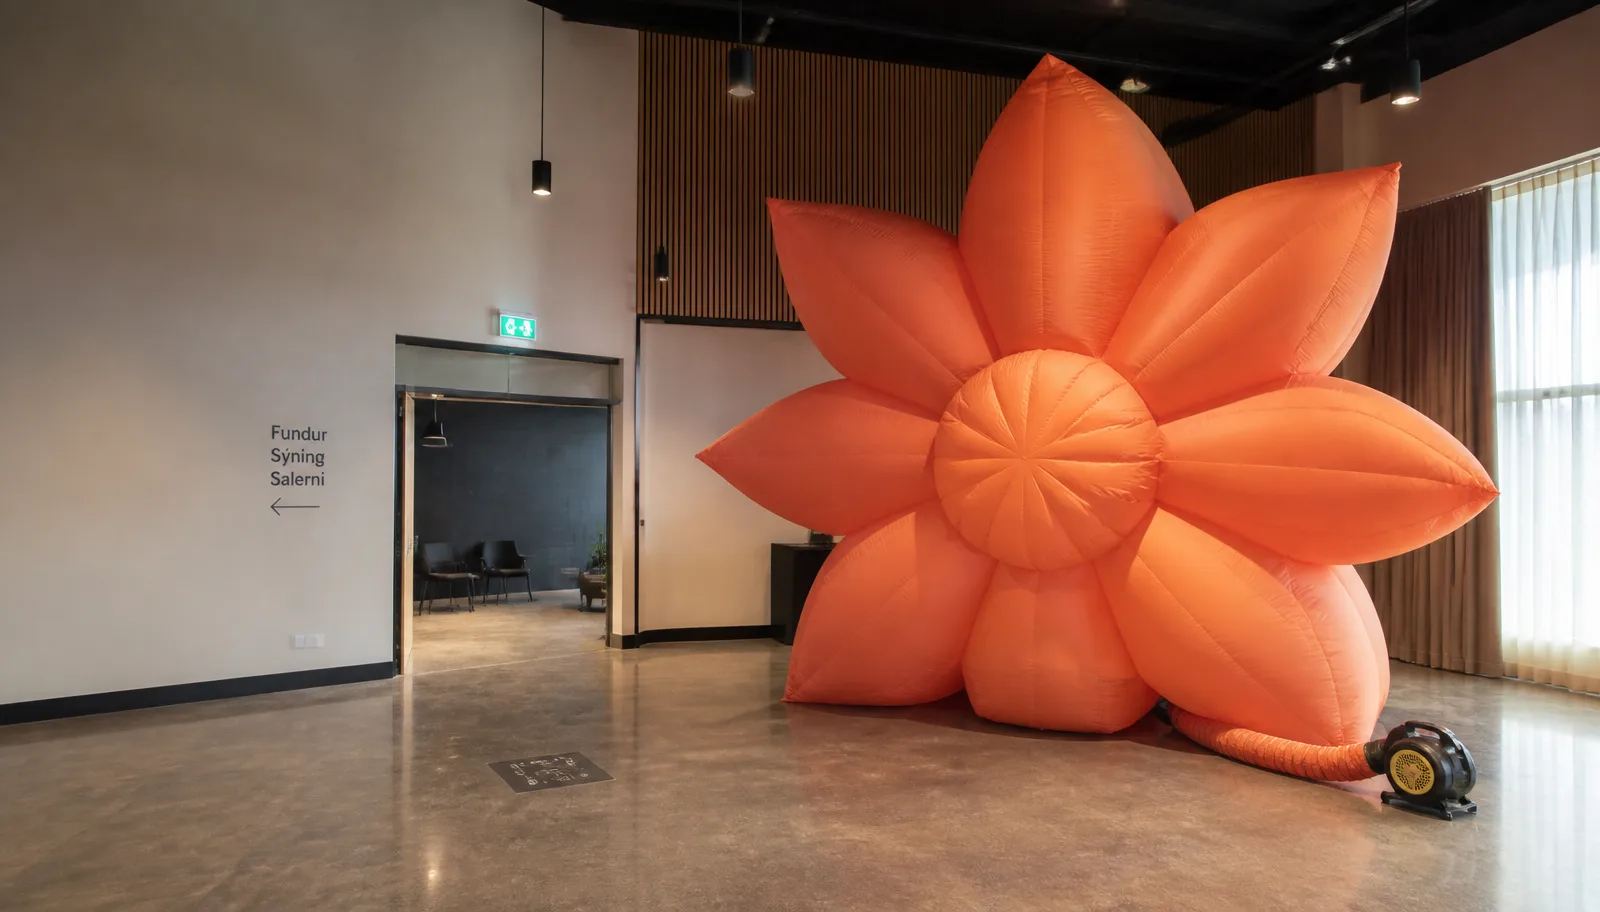
For an event inflatable, the product brief and the venue brief need to be reviewed together. A shape can look straightforward in a rendering but still be difficult to place if the clear height, door route, blower position, or event footprint was not defined early. That matters for indoor launches, exhibition halls, race events, and outdoor activations alike.
This checklist helps Iceland project teams prepare the information a custom-inflatable supplier needs before design development and quotation. It is written for made-to-order B2B projects supplied from China, not for an off-the-shelf online purchase.
Start with the usable space, not the overall room size
The usable space is the area remaining after doors, emergency routes, furniture, stands, barriers, and audience circulation are accounted for. Give the design team the clear width, clear height, and clear depth at the intended position—not only the venue’s largest advertised dimensions.
For an arch, distinguish between the inside opening required for people, bicycles, vehicles, or equipment and the outside dimensions of the inflatable itself. For a character, product replica, flower, or logo structure, show where the tallest and widest points will sit relative to ceilings, signs, lighting trusses, and walkways.
| Information to provide | Why it affects the design | Useful format |
|---|---|---|
| Clear height and width | Sets a realistic maximum outline and helps avoid conflicts overhead | Marked photo or simple plan |
| Door, loading-bay, and lift dimensions | Confirms whether packed equipment can enter and where it can be unfolded | Photos plus dimensions |
| Planned display footprint | Defines anchoring, blower location, and pedestrian clearance | Floor plan with the proposed position |
| Audience and traffic flow | Helps keep air equipment and access routes out of the main path | Short note or venue drawing |
| Indoor/outdoor location | Changes the questions around fixing, weather exposure, and venue approval | Written use scenario |
Plan the access route and the working area
An inflatable must be brought in, unpacked, positioned, connected, inflated, and removed after the event. Those are separate steps. A narrow door might be fine for a packed unit but not for unfolding it beside the final position. Likewise, an open hall may have enough ceiling height but no nearby space to keep a blower, tube, or cable clear of a visitor route.
Share photos taken from the loading point to the display location. Include turns, ramps, steps, lifts, security desks, and any restricted arrival time. A venue team should confirm its own access rules and whether its staff need to approve equipment placement. Those decisions remain with the organizer or venue; they are not automatically granted because a design has been quoted.
If the project includes a branded custom inflatable display, put the proposed viewing side on the plan. This lets the artwork, seams, air inlets, and equipment position be considered together instead of being improvised on site.
Treat power, blower position, and noise as venue questions
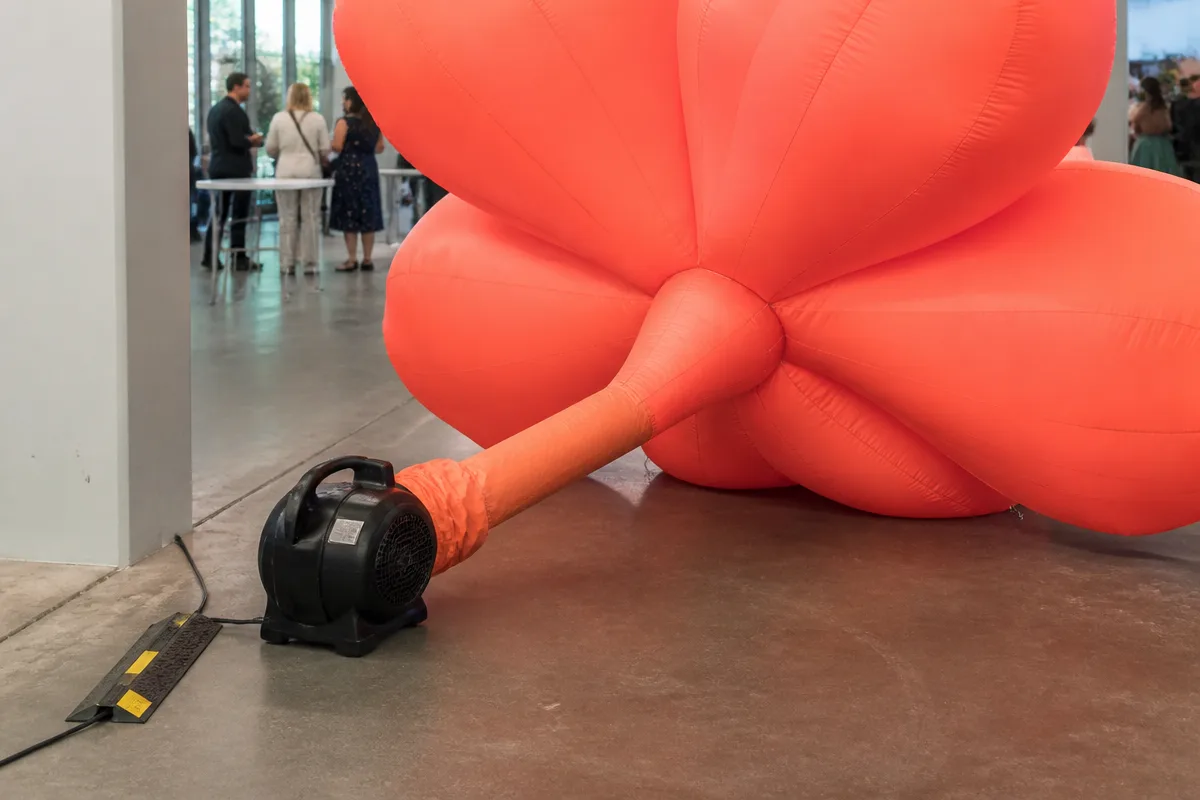
Many display inflatables use a continuous air supply, so the blower and its power route need a defined place. Do not assume a socket, cable path, voltage, or noise tolerance. Ask the venue which power points may be used, who supplies any approved extension or cable protection, and whether equipment must be screened from guests.
For an indoor project, describe the sound-sensitive areas nearby: a registration desk, presentation space, retail counter, dining zone, or quiet exhibition. The supplier can then review the proposed configuration, but the final setup must still follow the site’s rules and the event team’s operational plan. For outdoor projects, the organizer should also confirm its own wind, anchoring, supervision, and operating requirements.
Send a brief that supports a real design review
A useful request does not need a perfect technical drawing. It needs enough context for a feasibility conversation. Include the reference artwork or product photos, desired display role, approximate size range, quantity, and deadline. If an existing brand guide contains files for print, identify the final approved version and the viewing sides that matter most.
For a custom mascot or 3D object, call out features that must remain recognizable when enlarged: a cap, handle, distinctive silhouette, facial area, bottle top, or color boundary. Inflatable construction creates a soft three-dimensional form, so a design review should focus on the features that will read at event distance rather than promise a rigid, exact copy of every packaging detail.
You can also use the site’s pre-production approval checklist to organize artwork, dimensions, accessories, packing expectations, and responsibility points before production begins.
Build the event date backwards without inventing a fixed timeline
Work back from the installed event date. Reserve time for artwork collection, design/feasibility review, any venue questions, production confirmation, transport quotation, customs or receiving arrangements, and on-site setup. Each project’s timing depends on the approved design, size, quantity, packing volume, destination, and transport option. A request for a quote should therefore include the event date and destination city or postal code, not just the country name.
Venue and quote checklist
- Reference images, logo files, or a sketch of the intended shape
- Clear dimensions at the final display position
- Entry-route photos and handling restrictions
- Indoor/outdoor use and the event’s operating conditions
- Planned blower and power location, subject to venue confirmation
- Quantity, event date, destination city/postal code, and receiving contact role
Prepare the next review
For an Iceland event project, send the space information with the creative brief before requesting a final configuration. The InflatCustom Iceland page is the country-specific starting point for a made-to-order inquiry. When you are ready, use the quote form to share reference images, size, quantity, use environment, event date, and destination city or postal code.
Quick buyer checklist
Recommended internal links
- InflatCustom Iceland country page
- Custom giant inflatable display
- Pre-production approval checklist
- Request a project quote
Frequently asked questions
Can a supplier work from a simple reference image?
Yes, a reference image is a useful starting point. Add the intended size, viewing side, use environment, and any must-keep features so the design can be reviewed as an inflatable display rather than as a flat image.
Does a venue’s ceiling height alone determine the finished size?
No. Clearance, door routes, lighting, walkways, installation room, and the display footprint also matter.
Can the blower be hidden?
Sometimes a position can be planned out of the main sightline, but it still needs suitable access, airflow, power, and compliance with the venue’s own requirements.
Is an outdoor use statement enough to finalize the project?
No. The organizer should provide the proposed site conditions and confirm its event-specific operating and fixing requirements.
Ready to plan your project?
Send your artwork, target size, event date, destination country and use environment. The InflatCustom team can help compare construction, lighting, anchoring, packing and delivery options before production.
Send Quote Request